

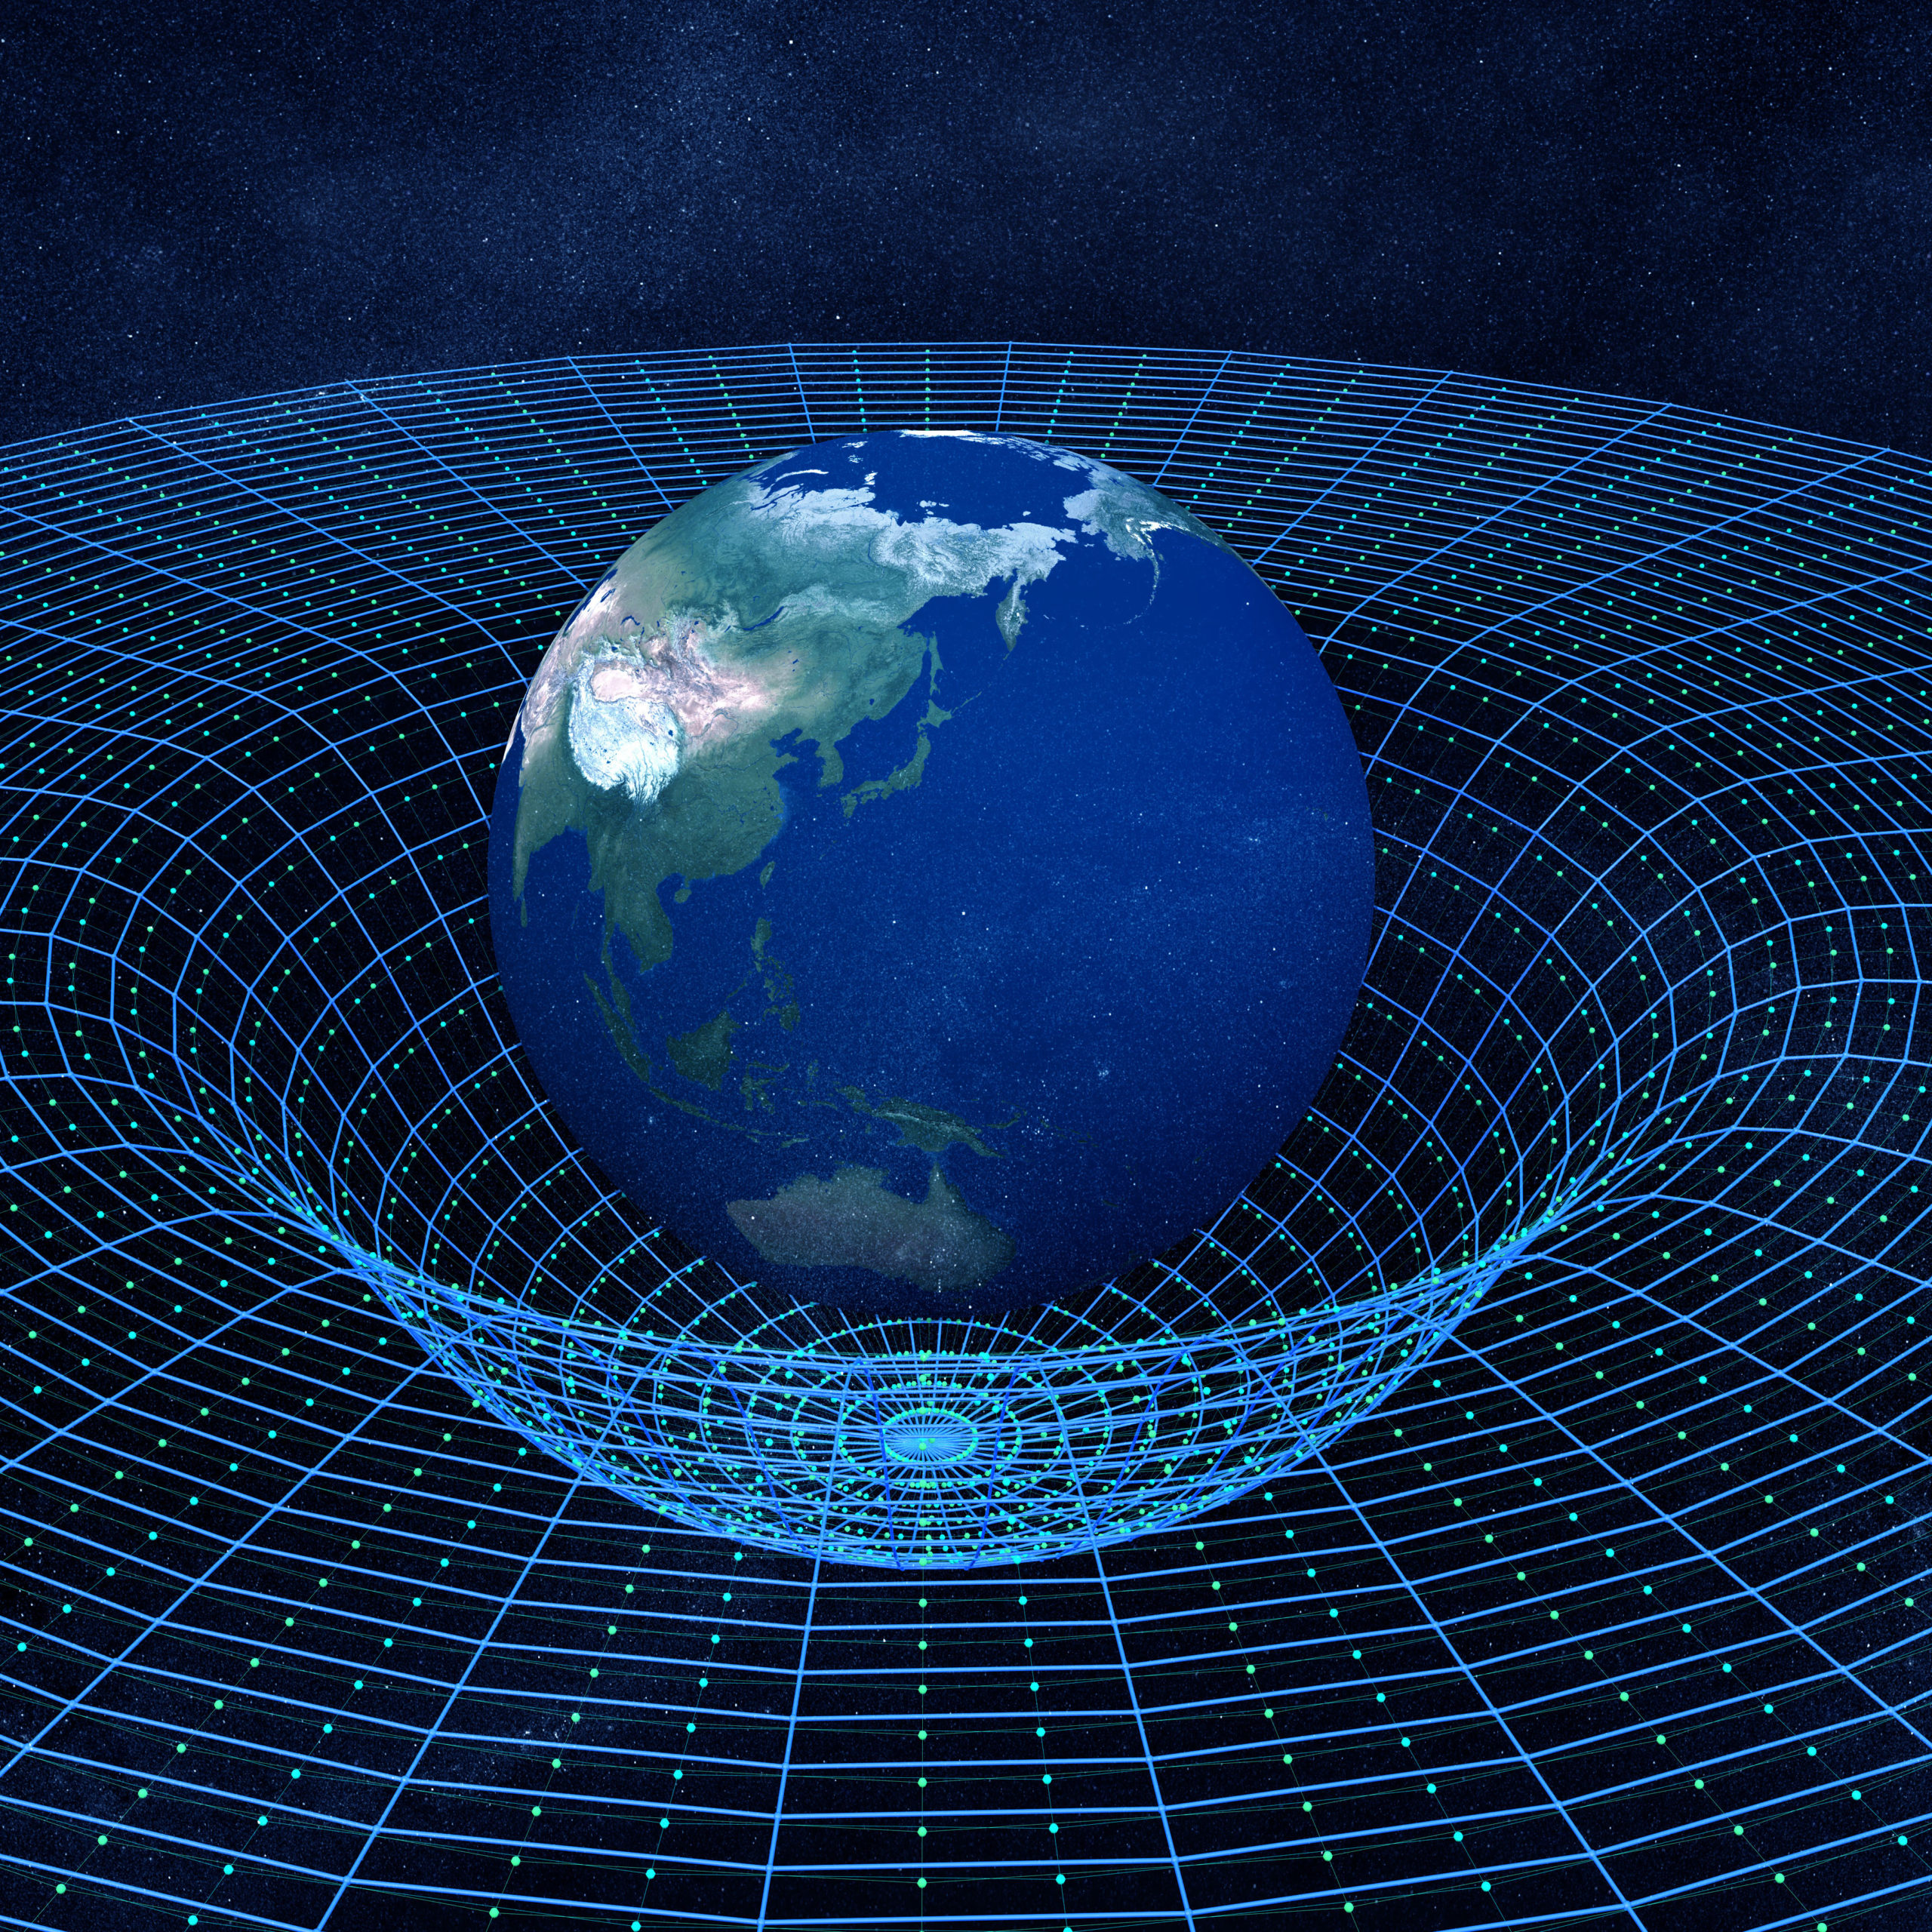
Maya – The Gravity Well
“Maya” – Gravity Simulator Kit
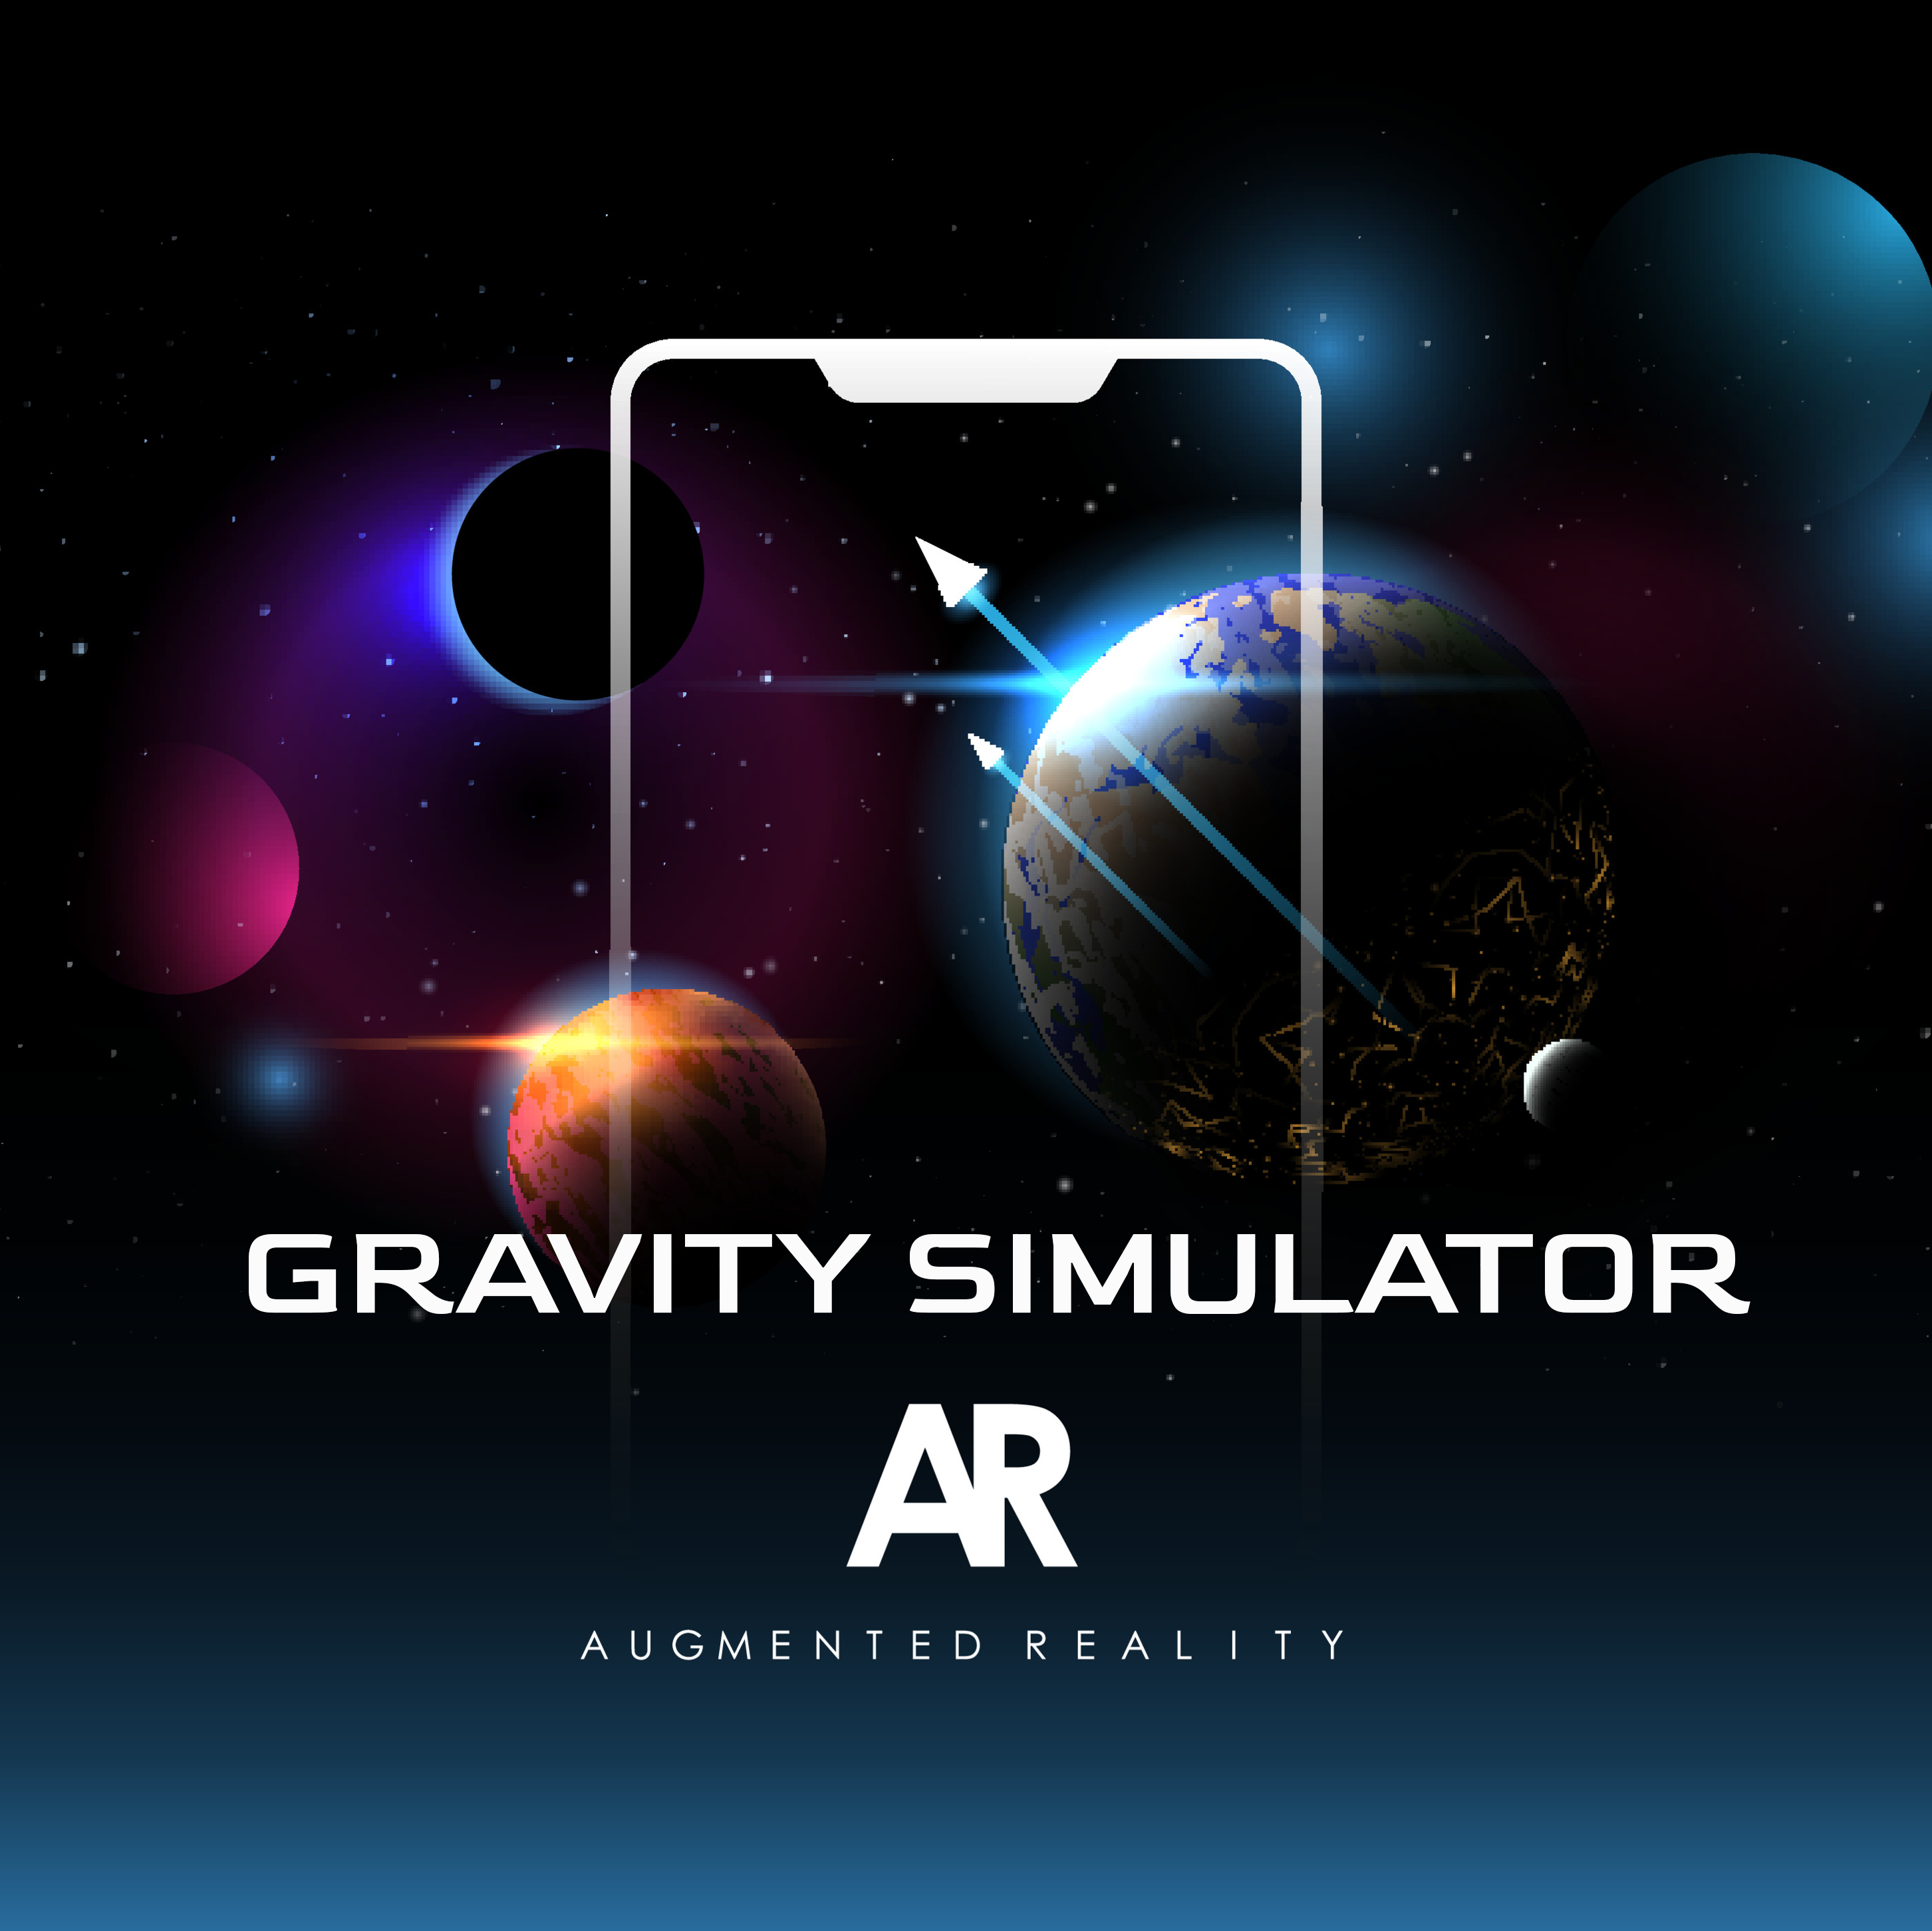
Experience and Visualize how Gravity warps space-time using our Gravity Well Simulation Kit. This Kit provides a visual experience to simulate gravity using objects of varying mass. Our Augmented reality App complements this simulation to understand and experience Gravity better
“One of the Best Gravity simulation Kit that’s available in the Market. My Kids and I personally enjoyed it. This is a must-have experience for any new Astronomy learners.”
Nick Jones


Very simple and easy to use app for simulating Gravity. I was able to play with the gravity simulator in my home.
Ricardo Gonzáles
HIGHSCHOOL STUDENT
— Learn & Expriment
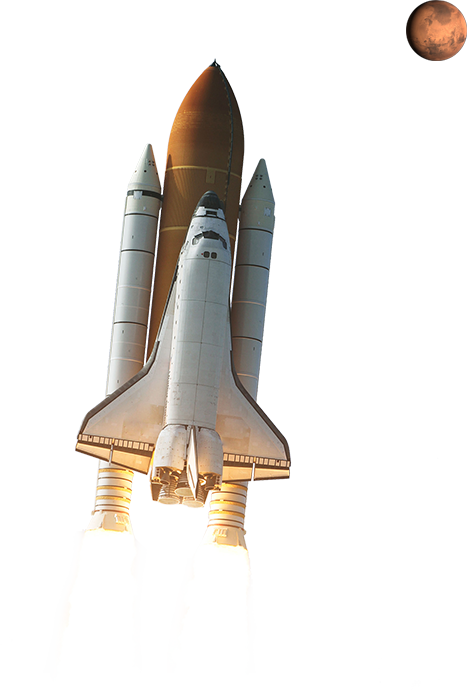
Rocket Science
Have you heard the saying, “It’s not rocket science?” Some people think rocket science is a difficult subject to understand. When someone says, “It’s not rocket science,” they mean that something is not too difficult. Rocket scientists are brilliant people, but rocket science is based on concepts you probably already understand. The same basic science concepts and laws work in both huge NASA rockets and small paper ones.
Simple and easy to understand. Interactive simulation to understand the concepts
Jacques-Yves Costeau
High school student

Simple and easy to understand. Interactive simulation to understand the concepts.
Jane Doe
hIGH SCHOOL STUDENT
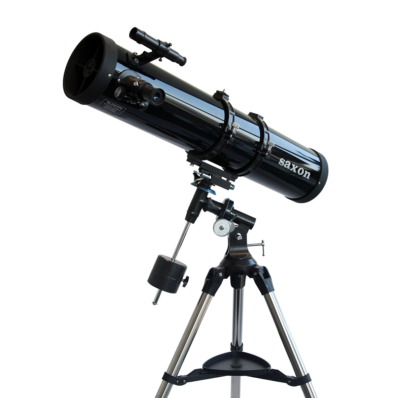
Learn more about Telescope
Telescope Guide
REFRACTORS - Mid-level performance, portable.
DOBSONIANS - Best performance, less portable
CATADIOPTRICS - Planetary performance, portable, pricey.
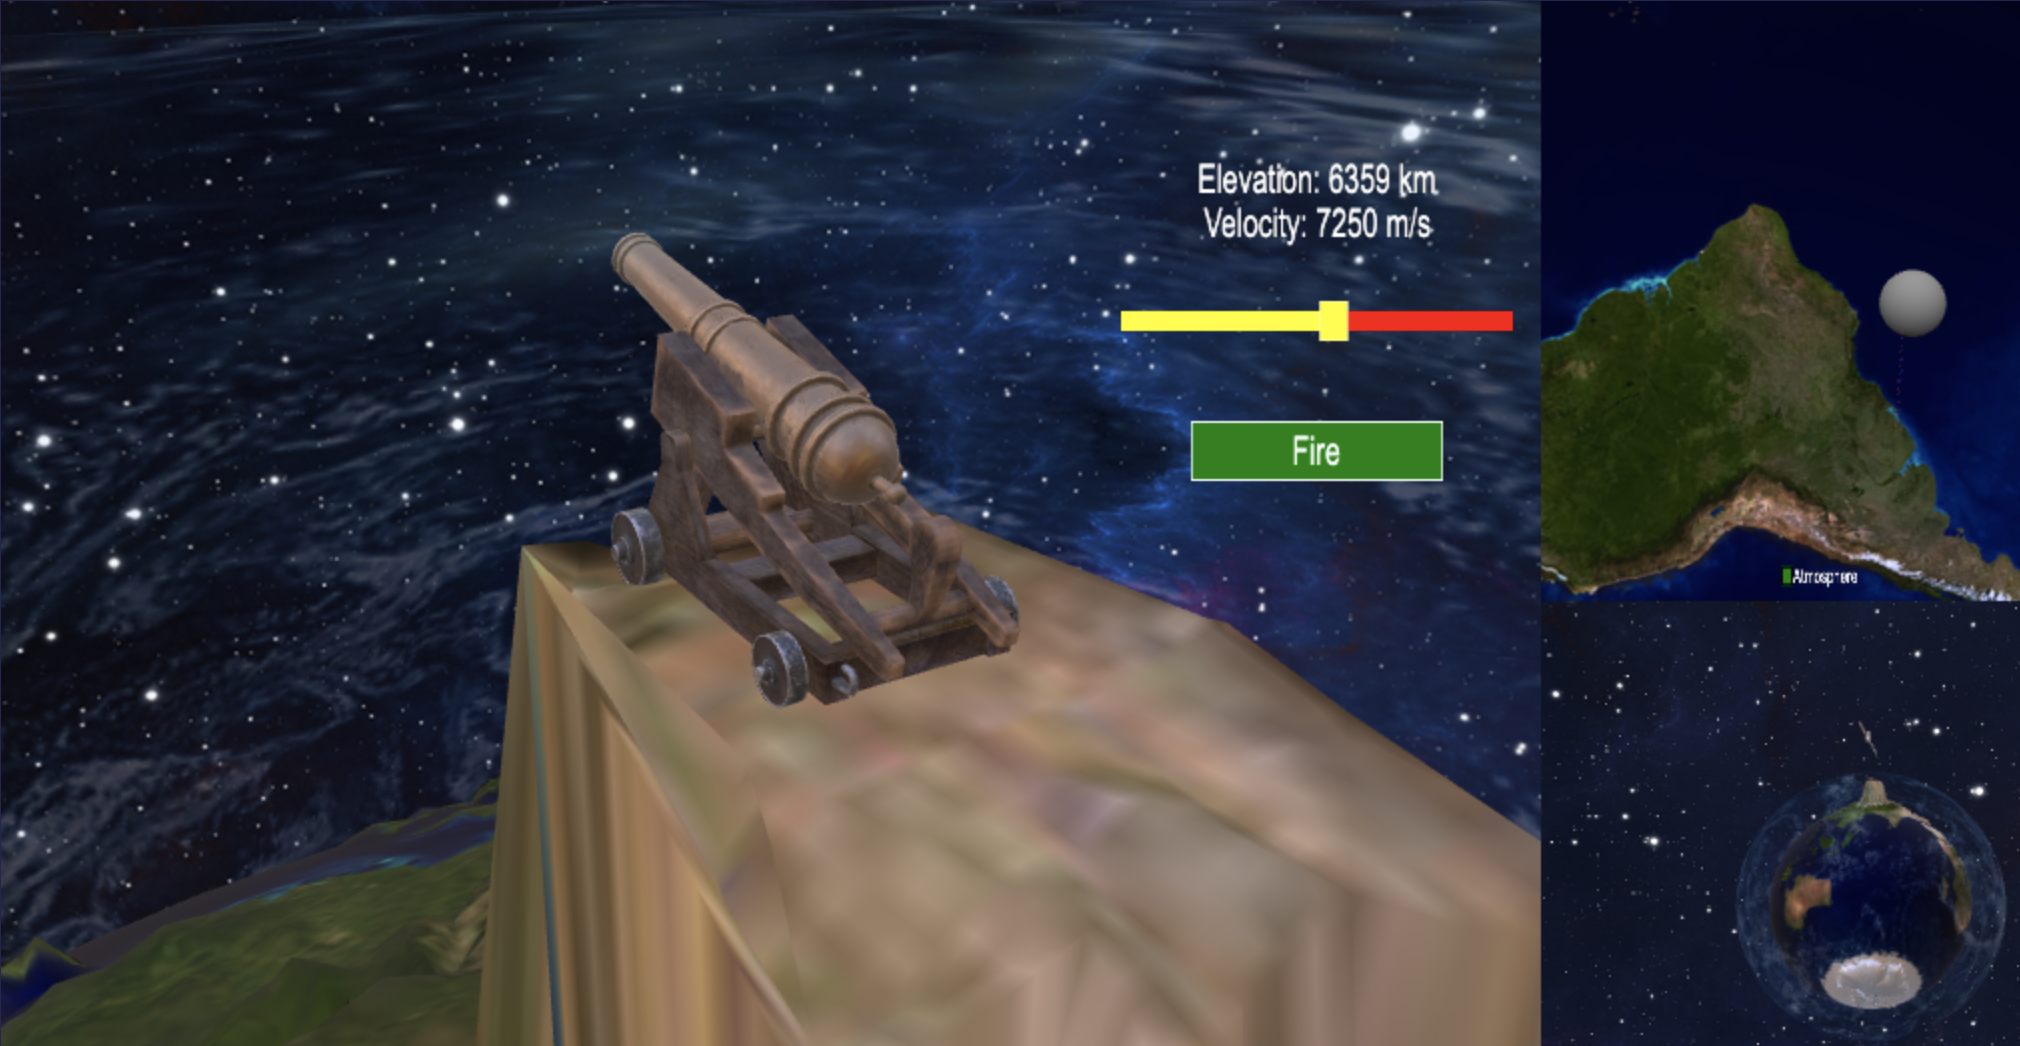
Newton Gravity thought Experiment Simulation
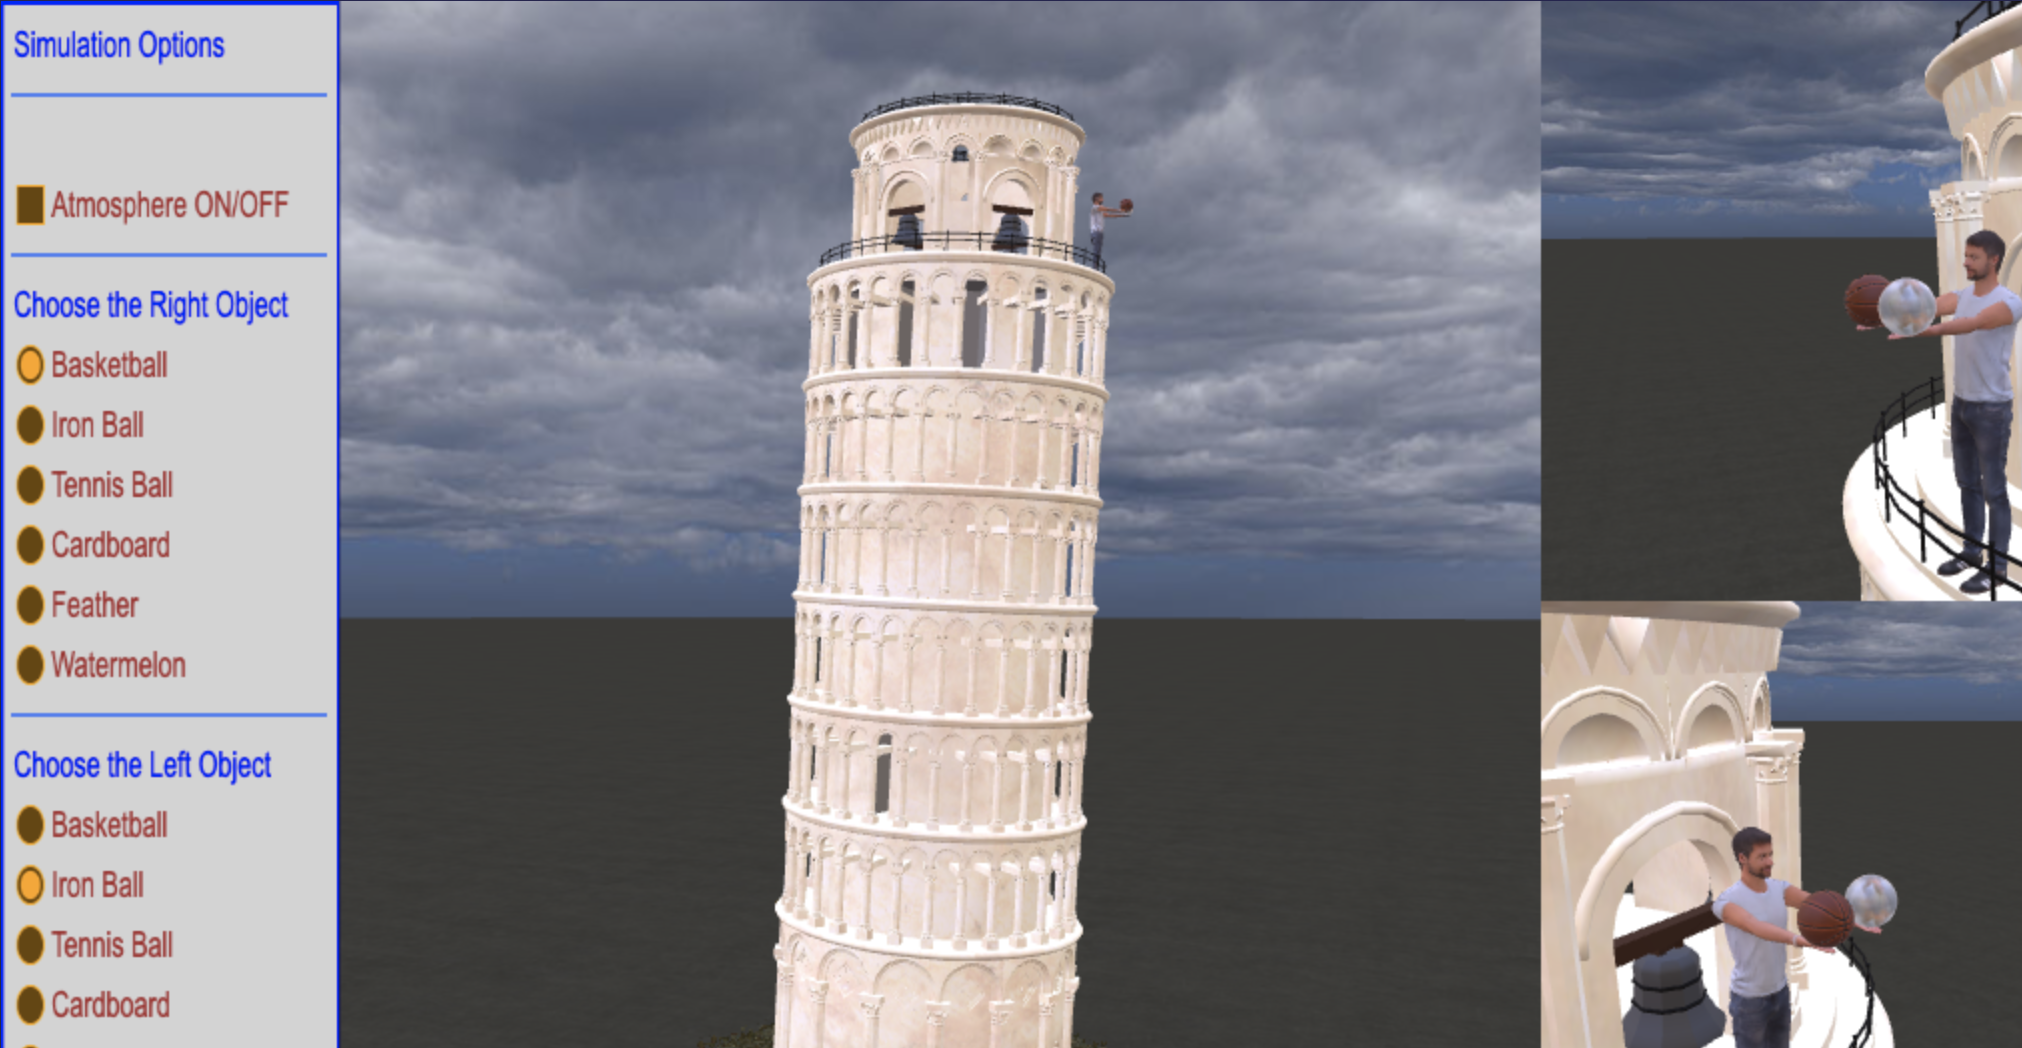
Galileo Galilei Gravity Experiment Simulation
Recent Posts
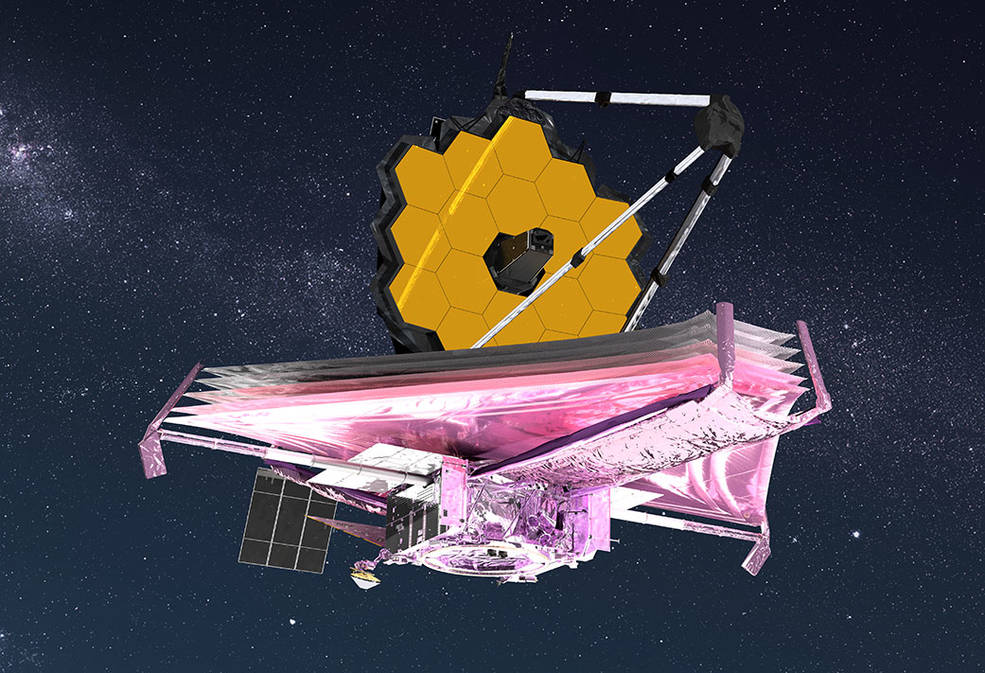
The James Webber telescope Isn’t Your Typical Telescope – cirsy.com
The James Webber telescope is a new telescope set
The Matter of Matter and Anti-Matter
Life on Earth started roughly 3.5 billion years ago.
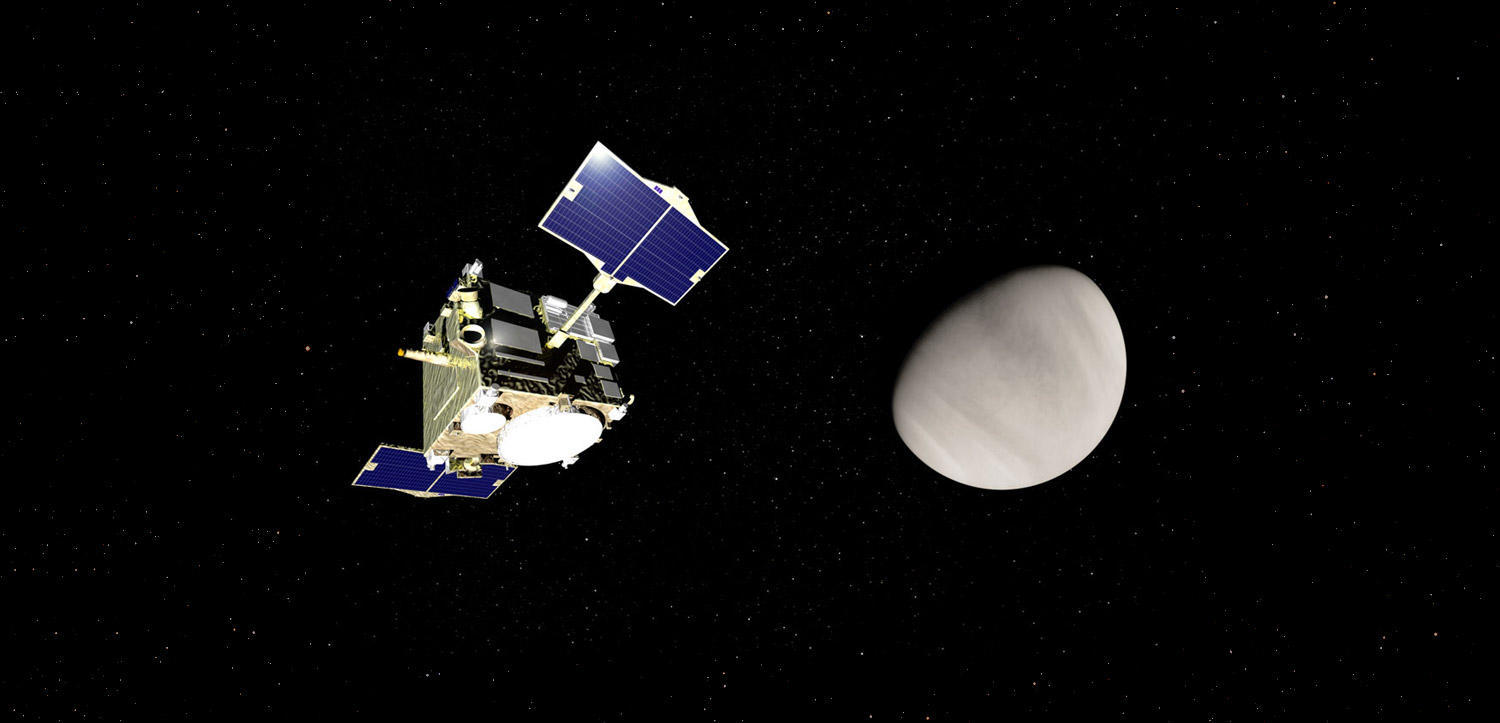
Akatsuki: Mission to explore Venus launched in 2010
Akatsuki: a JAXA orbiter mission to explore Venus launched in

Cassini – The Mission to Saturn
Cassini – The Mission to Saturn Cassini:
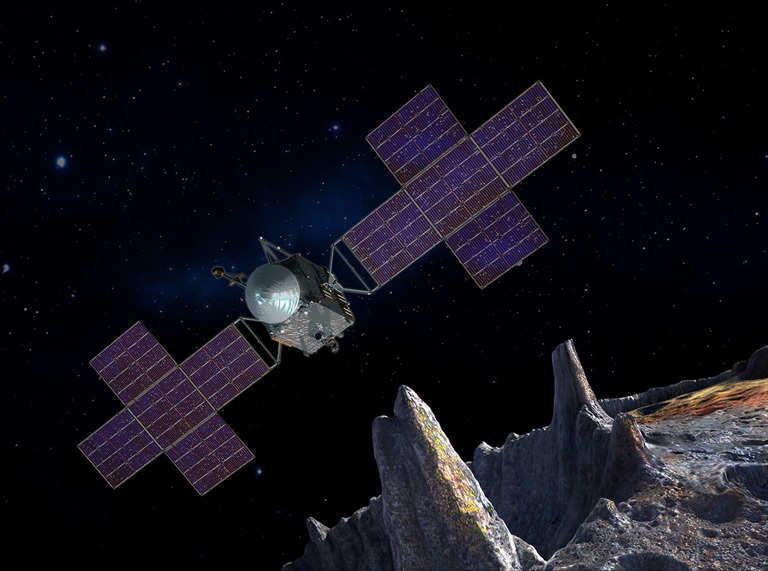
Psyche: A NASA Orbiter to explore Asteroids
Psyche: a NASA orbiter type spacecraft launching in 2022 to
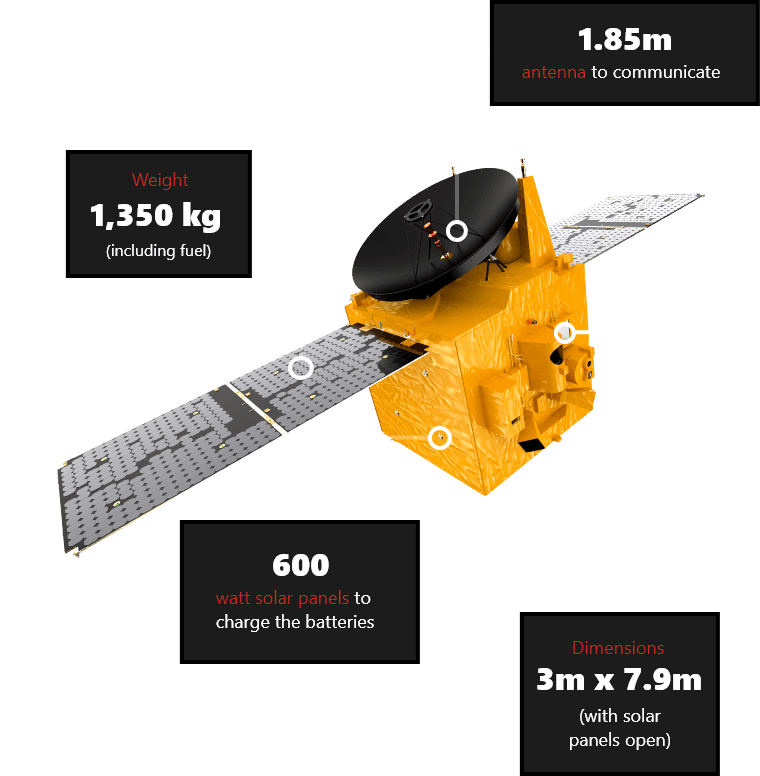
HOPE Probe – First Mars Mission from UAE
HOPE Probe: the first Mars mission from the United Arab

Get exclusive updates from Cirsy.com
Subscribe to our newsletter and don’t miss anything.
We promise we will not spam you!
Follow us
#SpaceLearning
